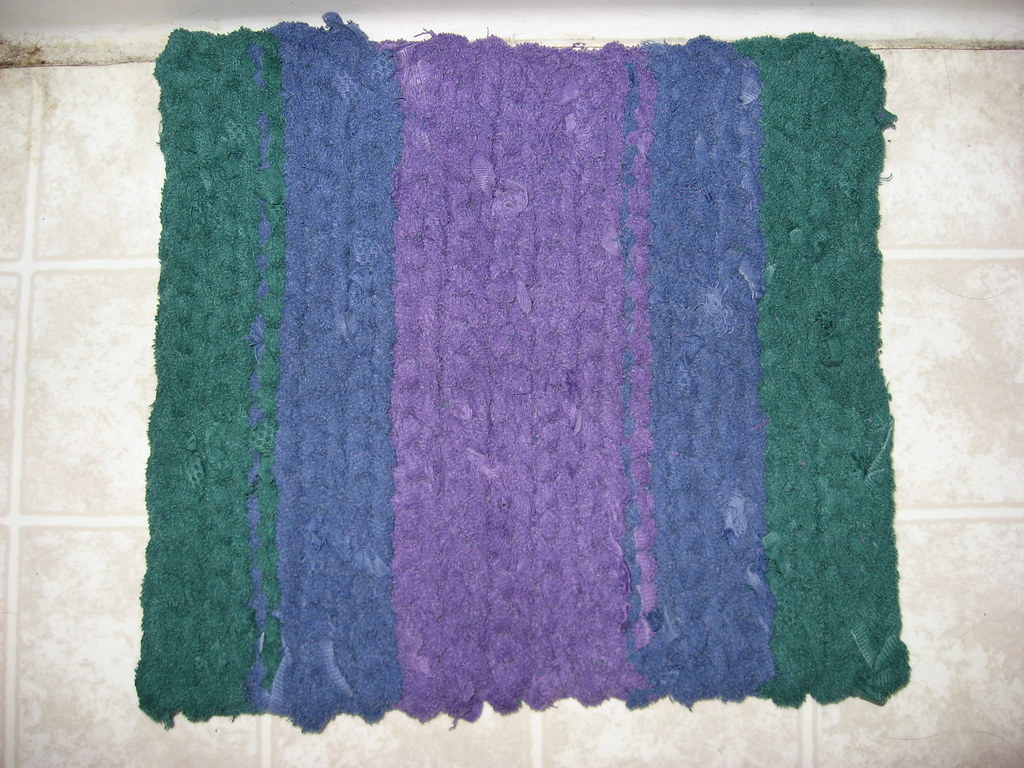
Ok, so I promised to show you how to make your very own crocheted towel bathmat...and here it is!
First, gather all the towels you want to use for your project. Try to get some pretty colors if you can, but don't use brand new towels (unless you bought some specifically to make this project). If you want a regular size bathmat, I would suggest having at least 5 towels available. For my crocheted towel bathmat, I used 3 regular size towels. Make sure to take the end seams out of all your towels. For me, some of the towels seams had already come out.
Once you have all your towels together, decide if you want a specific design or look. For me, I wanted to have a big stripe in the middle and smaller stripes on the sides. To do this, I folded my blue and green towels in half and pinned the ends. Then I took my scissors and cut right down the middle. I didn't care if it was exactly perfect, but I didn't want it too lop-sided so the stripes on the sides could be as close to the same width as possible.
I wanted to cut my towels in a continuous piece so that I didn't have any huge bulky spots from where pieces were sewn or just overlapped. Here's is a picture of how I cut up the towels:
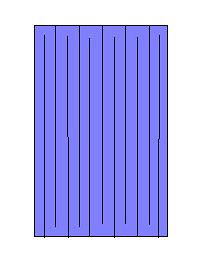
You'll have to excuse the bad Paintbrush skills, but I figured it would be easier to see how to cut the towels like this instead of cutting an actual towels and posting pictures. Depending on your crochet hook, you'll want to cut between 1/2-1" wide strips (I used an "S" crochet hook). Now these don't have to be perfect, so you don't have to measure the width along the way...just eyeball it. When I cut my towels, I left about 1/2-3/4" at the end so it was still connected to the next cut.
Now all you have left to do is crochet your bathmat. Make a crochet chain for as long as you want. I wanted something just a little bigger than my foot, so I just chained until I got the length I wanted. I didn't do anything fancy for a stitch design, partly because it was hard dealing with this bulky "yarn" and also I wanted to keep things sturdy so that it would soak up most the moisture and not leave holes for water to go through. Basically all I did was use a slip stitch (in the back loop) for the row below, and then a chain stitch at the end of the row to help it turn so you could go on to the next row.
Hopefully this is clear to you all, but if it isn't please ask questions! I would love to see any pictures of your finished bathmats!
Happy Crafting!


No comments:
Post a Comment